7 Tips for Setting up Your Online Classroom
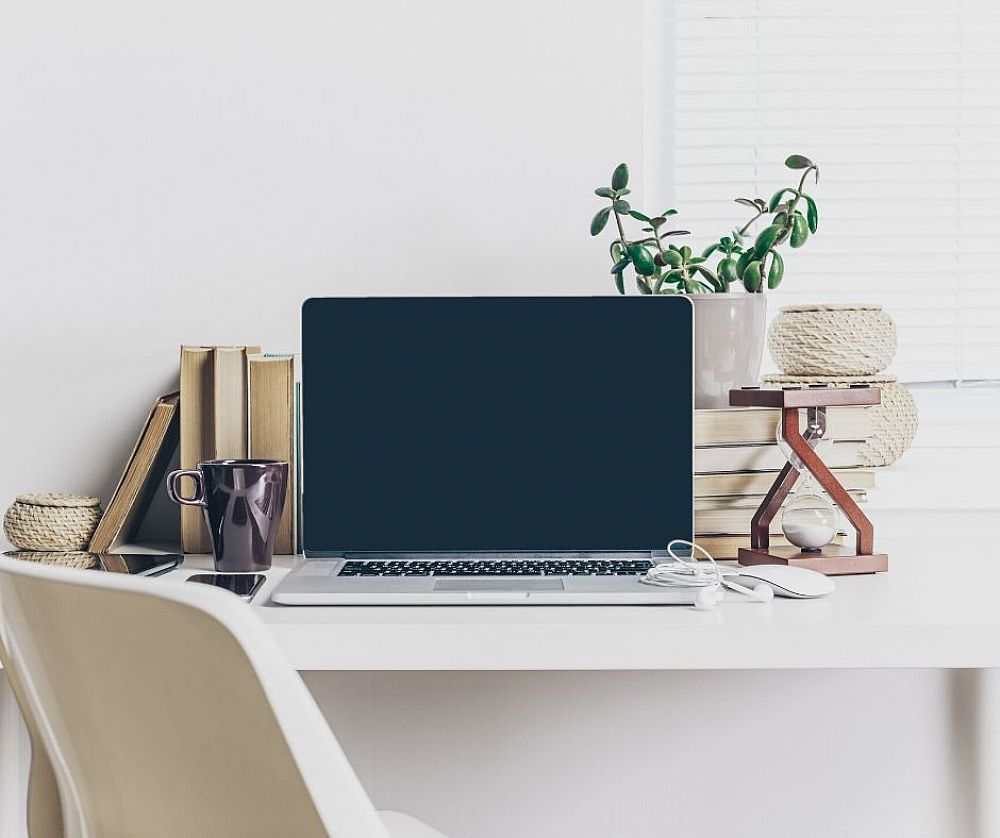
One of the most daunting things about teaching online is setting up your online classroom. You have to set up the lighting, buy props, make sure the camera is at the right angle, and find a suitable headset. It can be expensive and overwhelming, but it doesn't have to be. Here is what I've learned about setting up a cheap, organized online classroom.
Table of Contents
1. Whiteboards are your best friends
2. Use lamps or an LED ring light
5. Make sure your camera is above you
Are you ready to teach English online?
1. Whiteboards are your best friends
Whiteboards are your best friends. They are the most versatile prop you can buy. You can use them to teach students how to read, draw a concept your students don't understand, write a sentence such as "I don't ____ running," and get them to fill in the blank, and even play Pictionary.
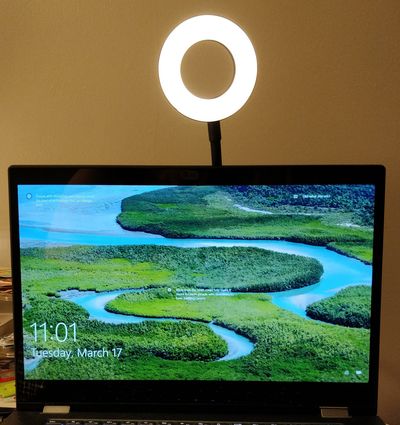
2. Use lamps or an LED ring light
Natural lighting is best, but if this isn't at your disposal, you can use lamps. The general rule with lamps is that you're going to need a lot of them. You will want lamps in front of you and a light source behind you. I have standing lamps on either side of my desk in front of me and a light source behind me. If the lighting is too harsh, point the lamp towards the wall. The light will bounce off the wall and back on to your face.
Here's an easier route, though. Buy a cheap LED ring light. You can get one for about $20 online. They give your face even lighting and they're much easier to bring with you on a trip!
3. Buy cheap props
I see teachers pour hours and hundreds of dollars into their props. If you enjoy doing that, go crazy. Your students will probably love it. For the rest of us, there is another way.
Print pictures. Most of your props should be paper. Buy other props from the dollar store. Realia (real items) is necessary for an engaging class. Use your phone to fill in the gaps. Yup. That's right. If you don't have a prop for something, show a picture on your phone. This is especially helpful if you're having a conversation with the student and they don't understand one of the words. Just whip out your phone and google a picture of it. You can even use GIFs as a reward when your students do a good job! I use princess GIFs for the little girls I teach and they love them!
4. Invest in a good headset
This may be the hardest part of your journey. It certainly was for me.Here's the bad news: there isn't a bustling trade in microphones designed for teachers. The ones I found that were recommended for teachers gave me headaches. Your job of finding a good headset won't be an easy one. This is what I've learned.
When it comes to buying headphones, it's a matter of preference. There are a few guiding rules but the rest is up to you. First and foremost, you shouldn't use Bluetooth. The lag and bad quality from Bluetooth mics will be compounded by the lag you will already experience from teaching online. Lag is a big problem in online classrooms, especially when you need your student to repeat what you're saying. It can be quite frustrating. So always use auxiliary.
You should also get a mic that comes out of the headset and rests in front of your mouth. Don't put it too close to your mouth as this will make sounds like "p" and "t" very loud and obnoxious to your students. Have it at least an inch away and a little to the side. Mics that don't come out of the headset won't have as good quality and won't be as good at filtering out background noise.
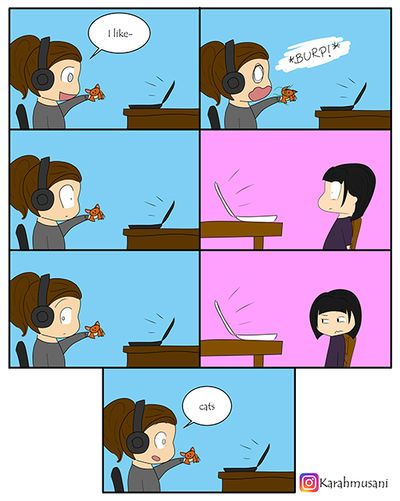
You should get a headset with a mute button. It's bad enough to cough or sneeze with that mic right next to your mouth but that mute button will be worth every penny the first time you burp.
The rest comes down to preference. I buy headphones designed for gamers for one reason: those things are designed to be worn for hours. My first pair of headphones rested on the ear instead of over the ear. By the third hour of teaching, I would have a raging headache. Sure, it might not be as aesthetically pleasing to wear a big, bulky headset, but if this is something you're going to do every day, you need to prioritize comfort.Most headsets don't have great mic quality. Before you buy a headset, make sure to look up a video review where they test the quality of the mic. Many YouTubers will post videos in which they use the mic of the headset they're reviewing.
If this is going to be your main job, however, I would recommend getting a stand-alone mic. Many teachers do without this, so it isn't a must, but it will set you apart from the competition! There are a couple of different types, the first being an actual microphone that you set on your desk and the second being a ModMic that attaches to your headset through a magnet. This is a more expensive way to go. You can expect to spend around $100 on a stand-alone mic. I would recommend upgrading to this once you've been established and are confident that this is going to be your livelihood rather than buying it for your initial set up.
5. Make sure your camera is above you
You don't want your camera to be looking up your nose. Make sure your camera is either looking straight at you or a little down on you. If you are using the webcam on your laptop, you will probably have to prop the laptop up on a stack of books to ensure it is high enough.
6. Have a drink nearby
You're going to be talking for a long time and your throat will randomly and unexpectedly go dry. I should also add that you can't underestimate the comfort of holding a cup of coffee when you're having a particularly rough class.
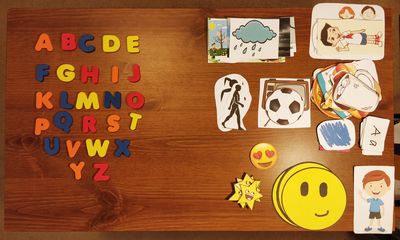
7. Organize your props
You will end up with a small mountain of props, especially if you're teaching beginners. This is how I prepare for classes. I have a table on either side of me with different piles of paper props. I put commonly used props in stacks such as "food," "emotions," "family," and "weather." I also have a box with miscellaneous paper props. Before classes each morning, I review what I'm going to teach and make a pile of props for each class. No matter how well you prepare for class, there might still be a prop you end up needing that you didn't pull out. This is the purpose of the piles of commonly used props. You can quickly grab what you need and show it to the student.
Are you ready to teach English online?
When I applied for my first online teaching job, I had no idea where to start. Lighting was a nightmare, my headset gave me headaches, and I spent way too much money at teaching supply stores before finding out that I could get a lot of the same things for much less at the Dollar Tree. Every teacher has their own style and once you start teaching, you will find your rhythm, but I hope this post spares you some of the headaches I endured my first couple of months on the job.
Apply now & get certified to teach english abroad!
Speak with an ITTT advisor today to put together your personal plan for teaching English online and abroad!
Send us an email or call us toll-free at 1-800-490-0531 to speak with an ITTT advisor today.
Related Articles:
- Teaching English In Russia - The Salary and Budget Guide
- Advantages of Teaching Adult Students and Implications on Teacher's Methodology
- The 8 Best Countries in Asia for Teaching English Abroad
- Online or In-Class - Which TEFL Course Should You Take?
- How To Write The Perfect ESL Lesson Plan
- Getting Student Placement Right - The Best Desk Arrangements for EFL Students